What are Reels on Facebook?

- Why has creating a Reel on Facebook become so easy?
- How to make a Reel on Facebook in 5 steps
- Step 1. Tap Create from the Reels section of your Facebook Feed
- Step 2. Record, splice, or upload your content
- Step 3. Add effects like audio clips, text, stickers, or music
- Step 4. Add a description, hashtags, and decide your audience
- Step 5. Share your reel
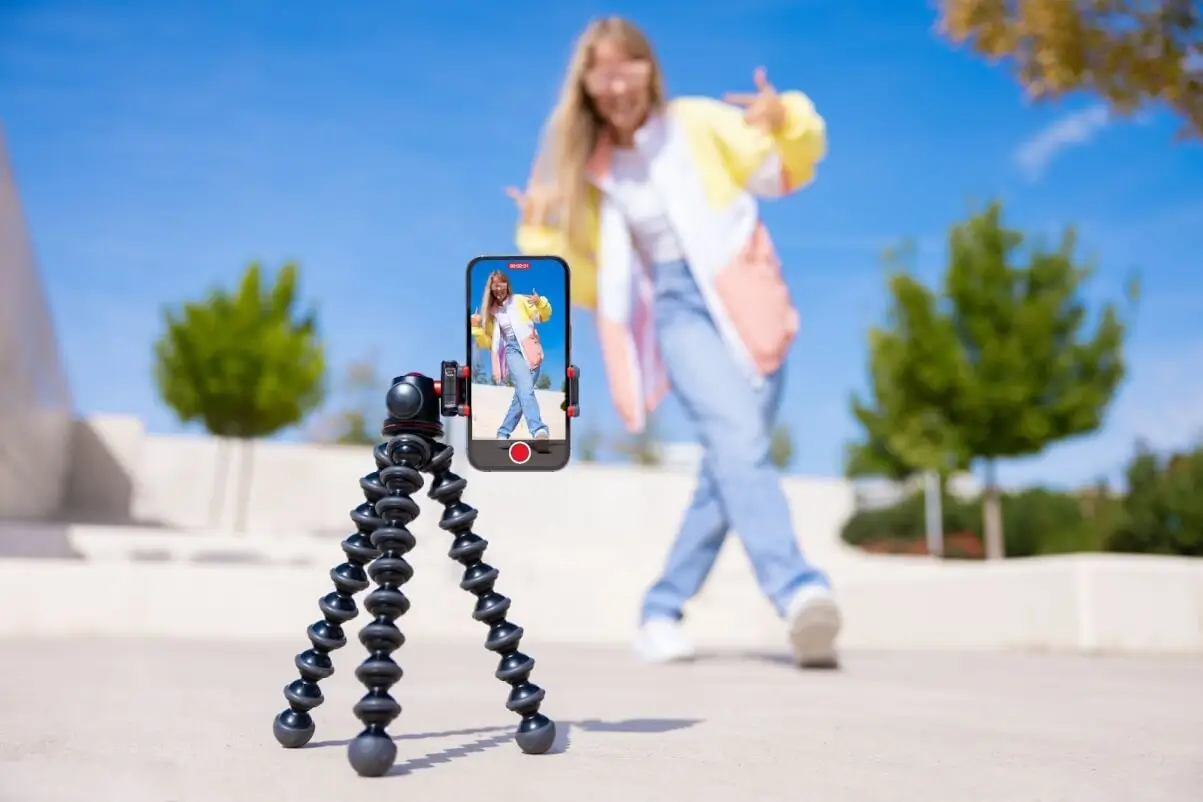
Facebook Reels, like other short-form video formats, represent clips lasting up to 30 seconds. The brevity of these videos obliges bloggers to distill the most useful and enchanting information into a short video. Following the success of platforms like TikTok, large companies began adapting to this trend by creating content witch adapted for short-form video formats.
Facebook also recognized the rising popularity of this content format and introduced features to ease the creation of vertical video content. Despite arriving relatively late to the scene, the introduction of such videos on the platform has not hindered their development or popularity. And in 2024, the majority of people on Facebook come there to watch Reels.
Why has creating a Reel on Facebook become so easy?
Previously, the art of creating a reel on Facebook demanded competence not only in video shooting but also in scripting, editing, and many other aspects. However, with the development of technology, people have become more adept at the management of complex processes. The same goes for crafting trending videos on Facebook, no longer need to spend days or weeks creating an outstanding video.
All that's required now is to inform oneself with editing and use popular applications which capable of adding and processing various effects and transitions. Using tips from influential bloggers, people can achieve levels of fame without using anything other than their phones. Without the need for expensive equipment or a team of designers.
How to make a Reel on Facebook in 5 steps
When aiming to create a viral video on Facebook, understanding a few fundamental concepts is important to achieving this goal swiftly and easily. To simplify the process, we've collected five simple steps that, when followed, can help you produce an exciting video destined to be viewed by a wide audience.

Step 1. Tap Create from the Reels section of your Facebook Feed
The first step is to click on the “Create Reel” button, which will take you to your phone's gallery. From there, you can choose a pre-existing video to upload directly to your page and share with your friends and subscribers. If you don't have a suitable video yet, don't worry—you can access the camera section directly from this menu and start filming from scratch.
Step 2. Record, splice, or upload your content
Once you've accessed the Reels section, you can begin crafting the unique video of your choice. Thanks to furtherance in technology, virtually any idea can be brought to life during recording. For instance, you can simply integrate photos from your gallery directly into the video, or use the chroma key to alter the background. Once you've captured your video, you have the opportunity to conveniently trim it and adjust its length to suit your needs. Finally, once you've finalized your video, you can promptly upload it to your page if you wish.

Step 3. Add effects like audio clips, text, stickers, or music
When creating a video, or even before starting, you have the opportunity to choose from numerous features to enhance your content. For instance, you can select lively music to complement your tale either before or after creating the video. Similarly, you can integrate text interactively onto your video, customizing its appearance, fade-out time, color, and size to suit your preferences. In addition to the large number of effects and transitions available in video processing applications. Facebook itself offers numerous cool functions recommended by many bloggers. Many Facebook Reel creators use these built-in video processing functions to craft their content. Additionally, popular stickers can be added to videos, but it's essential to ensure they don't block important parts of the video or yourself. Once you've added all the essential elements to your video, simply click on the 'Next' button to proceed with creating your Reels on Facebook.
Step 4. Add a description, hashtags, and decide your audience.
The description plays a significant role in maximizing audience engagement, thanks to the array of tools at your disposal. Among these tools, hashtags stand out as important as they increase visibility among numerous videos. In the description, add relevant hashtags that reflect the content of your video. This enables the algorithm to place your video in recommendations for individuals interested in similar content. Additionally, consider the audience you wish to target. Selecting appropriate hashtags and settings is important, especially if your content is aimed at a specific group, such as children.

Step 5. Share your reel
After creating your video, the final step is to distribute it among your desired audience so they can view your creation. Simply click on the 'Share' button located in the bottom right corner to send the video to your selected friends with whom you wish to showcase your creation. With this function, you can not only send a video to friends in your contacts but also share it with everyone subscribed to you on other social networks, making the process of sharing your video highly convenient. Afterward, your friends will have the opportunity to watch your video and share it with their network, thus lending to its popularity.

Author
Founder of VJump. In addition to business, he is passionate about travel photography and videography. His photos can be viewed on Instagram (over 1 million followers), and his films can be found on his YouTube channel.
Moreover, his profile is featured on the most popular and authoritative resource in the film industry — IMDb. He has received 51 international awards and 18 nominations at film festivals worldwide.


