How to Make a Live Photo a Video


- How to Make a Live Photo a Video
- How to save Live Photo as video
- Opt-in Live Photo to video option
- Single video
- Turn live photo into video as batch
- Folder management
- Aspect ratios
- Saving the batch
- How to turn a live photo into a video in iMovie
How to Make a Live Photo a Video
Live Photo is a feature for iOS and macOS to create multiple photos in a short period of time. This feature has good use if you want to select a perfect shot from the whole batch afterward. Furthermore, you can also convert Live Photo to video, and today we are going to tell you how to do that on your iPhone with the tips to manage the settings to avoid distortion.
How to save Live Photo as video
Live photos capture one and a half seconds of a video before and after you snap your photo. This is a perfect feature for vacations, parties, holidays and so much more. For example, let us say that you and your friend are about to go on a trip together. If everyone snaps Live Photos, when you are done with the trip, you can select all of them and export them as one video, where each shot is three seconds in length. This can totally change the way you create home movies.
Opt-in Live Photo to video option
Maybe you are one of the people who used this feature or have it turned off.
Go to settings and scroll down to the camera app. Tap on preserve settings. Turn on creative controls and Live Photo as default at the bottom. Creative controls will allow you to change the aspect ratio. All the landscape photos are captured in a 16:9 ratio, so if you mix in content that’s 4:3 you will end up with black bars on the side.
Now you can see aspect ratio settings as you open up your camera app. To see them you need to tap a little arrow icon at the top middle of your screen which will appear the setting for aspect ratio.
Single video
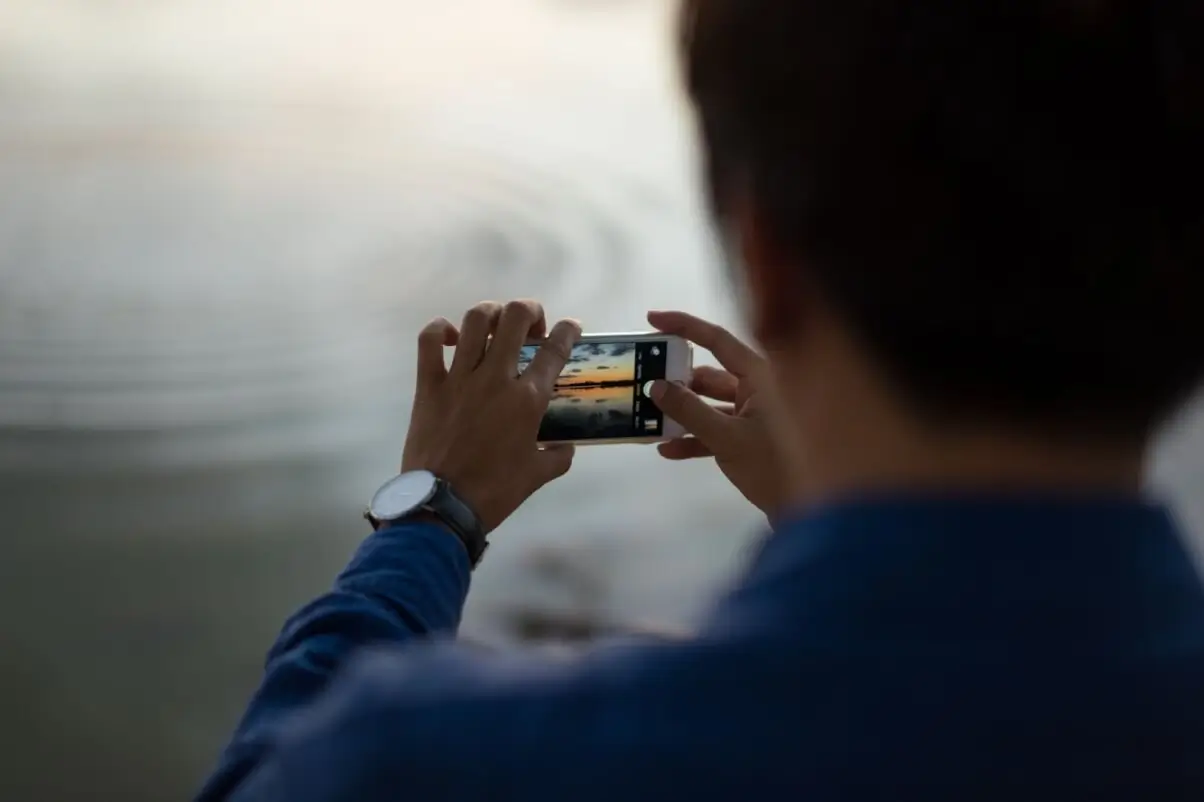
How to turn Live Photo into video as a single unit? To convert a single Live Photo, simply tap on the three dots icon that you see in the top right of your screen after the shot and tap Save as Video. It is now going to save the video as the date of the photo and not as the current date which is important for future navigation. Then you can find that saved video in your albums in Recents and the video would be all the way at the bottom with time on it.
Saving Live Photo on Mac is different, you need to hold your option key and drag it to a folder where it will be exported as MOV and JPG files separately.
Turn live photo into video as batch
If you are tired of converting each Live Photo into videos one by one, you can do that as a batch. But to be able to do so, we need to prepare our files and manage folders for that first.
Folder management
To create multiple videos at once, we recommend creating a separate album for your Live Photos to exclude mixing them up with non-Live Photos. This precautionary is required because that way you will be able to convert all the live photos into videos as a whole batch. If you have them saved into recents with the rest of the photos, you will have to select all of them one by one, as the select all option will not allow you to save as a video feature anymore if you have mixed types of photos.
Aspect ratios
This works great both with portrait and landscape Live Photos, however, these videos would be represented in a squared grid in your album which may cause distortion if you start editing all of them at once, as you won’t be able to see aspect ratios in that grid. To avoid that, tap the three dots icon at the top of your screen in the album made for videos and switch to the Aspect Ratio Grid. That way you will see which photos were shot in portrait mode and which were made in landscape mode. If you do not want to use that option you can either create two separate folders for landscapes and portraits in advance, or if that already happened, then you can copy the album of mix and remove portraits or landscapes in that folder.
Saving the batch
Now as you have an isolated folder for landscapes and portraits and no mixing up with non-Live Photos, you can select all and save as a video. But, if you do not see the save as video in the menu, you may do that in small batches instead, because this failure typically happens if you have more than 30 files in the same folder to save as video.
How to turn a live photo into a video in iMovie
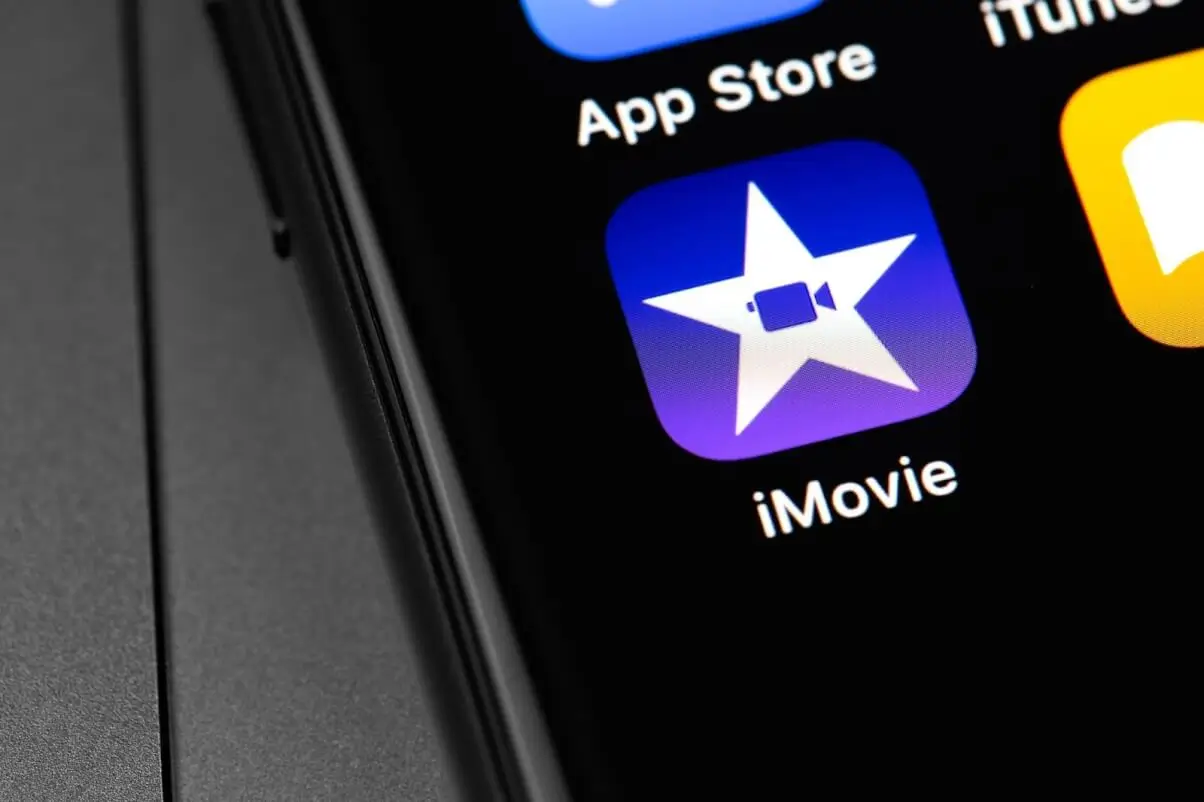
As you watch those videos you will notice that audio has also been saved. And some of these audios you want to preserve and others to mute. Import that video into iMovie and then you can add titles, voice-overs, a soundtrack, and of course mute any click that don’t work for you.
Author


Founder of VJump. In addition to business, he is passionate about travel photography and videography. His photos can be viewed on Instagram (over 1 million followers), and his films can be found on his YouTube channel.
Moreover, his profile is featured on the most popular and authoritative resource in the film industry — IMDb. He has received 51 international awards and 18 nominations at film festivals worldwide.